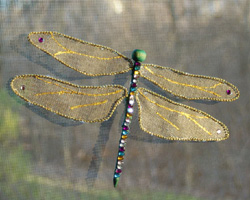
Post by Darcy Christensen on Oct 25, 2015 12:41:49 GMT -5

Things Needed for the Dragonfly Craft:
•18 gauge wire
•wire cutters
•fabric window screening
•scissors
•hot glue gun and glue sticks
•gold spray paint
•gold bead trim
•gold glitter glue
•sharpened pencil
•florist tape
•large wooden bead for the head
•small flat bottomed jewels for decorating the body and wings
1. Begin this dragonfly craft by printing out this wing pattern on your printer. When you click on the link, a .pdf file will open in a new window for easy printing. Next, mold the 18 gauge wire to the wing pattern shape. Do this by placing the wire directly on the pattern, holding it down with your fingers, while you use the other hand to bend the wire as you go to "trace" along the pattern. Don't worry if it doesn't look perfect. When you close the wing, twist the wire ends together to secure them. Then, leave a wire "tail" (a short amount of wire to later wrap and secure the wing to the body).
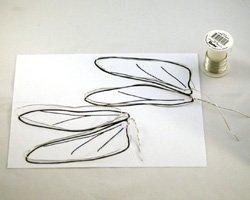
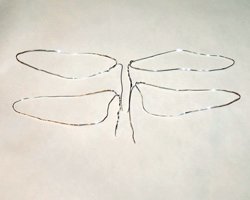
2. Next, you want to glue each wire wing to the window screening. To do this, trace and apply hot glue from your hot glue gun to the wire wing. The hot glue sets up quickly, so do a small section of the wing at a time. Then, press the section you glued on to the window screening. Use a tool of some sort to help press the window screening into the glue. This is because the glue seeps through the tiny holes of the window screening and you can get burned if you use your fingers to pat it down.
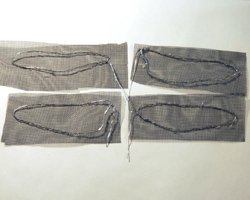
3. This dries pretty quickly, so you can move right on to the next step of the dragonfly craft. Cut the excess window screening off so it is almost flush with the wire outline of the wing. A small overhang is OK. You want to cut close enough that it looks neat, but not so close that you cut off the glue and risk the wing to become detached.
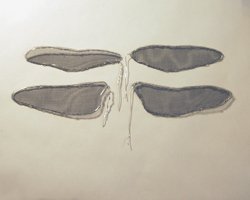
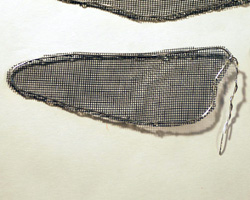
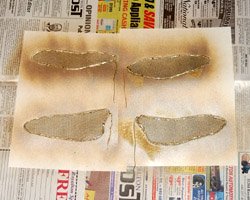
4. Protect your work space with some newspapers, and allow good ventilation. Then, give the wings a coat of gold spray paint. Allow this to dry well, then flip them over and paint the other sides too. Allow everything to dry.
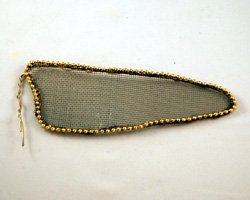
5. Next, decorate the outside of each wing with some gold bead trim. Apply a line of hot glue along the edge of the wing, and then glue the bead trim to the edges.
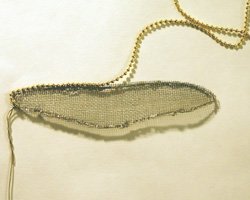
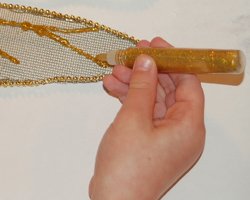
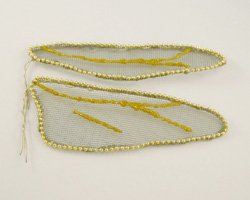
6. Continue to decorate the wings by tracing the veins using gold glitter glue. Allow this to dry overnight before continuing.
7. A newly sharpened pencil will be the dragonfly's body. Wrap this once with the florist tape. The sharpened end will be the end of the dragonfly's body, pointing downward.
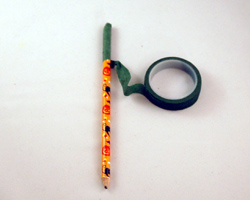
8. Next, position the wings around the pencil as shown, with the wire "tails" pointing down the length of the pencil. Wrap these wire tails around the pencil to secure then. Don't worry if it looks messy, you will be covering them up.
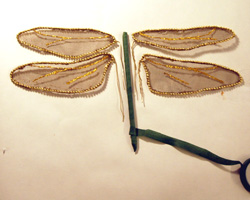
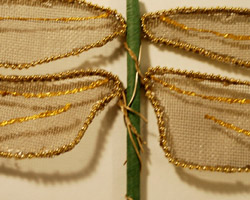
9. Take your time and continue to wrap the florist tape around the pencil, giving it a second layer. This time though, as you come to a wire, cover it up with tape. You will need to weave the tape between the wings to get everything covered well
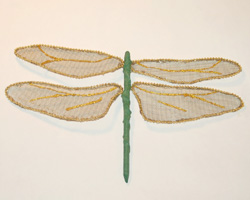
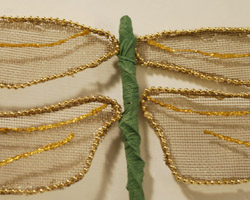
10. Add a large wooden bead to the top of the body. The bead I used had a hole the same size as the pencil, so I was able to thread it through and secure it with some hot glue. Glue flat bottomed jewels down the length of the body, and a few on the wings for decoration
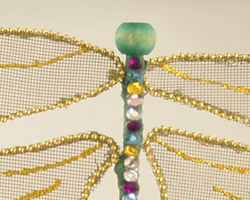
11. You can add a clip to the back of the dragonfly, or a suction cup to place it on a window. If you want to do this, you can secure the attachment to the body with glue or wire. I placed my dragonfly on the screen window in my sun room, and I used some thin wire to attach the body to my window screen. I hope you enjoyed this dragonfly craft!
